Installation Links and Instructions
Upgrading Import Rx
If you are upgrading to the newest release of Import Rx, use the package installation links below.
Note:
If you are installing Import Rx for the first time, go to the Introduction & Setup
section.
Installation Links
Important:
Always be sure to install and test in a sandbox environment
before upgrading to production.
Version 6.17, released November 19, 2025
Post-Installation/Upgrade Steps
Assign a New Permission Set for All Users of Import Rx
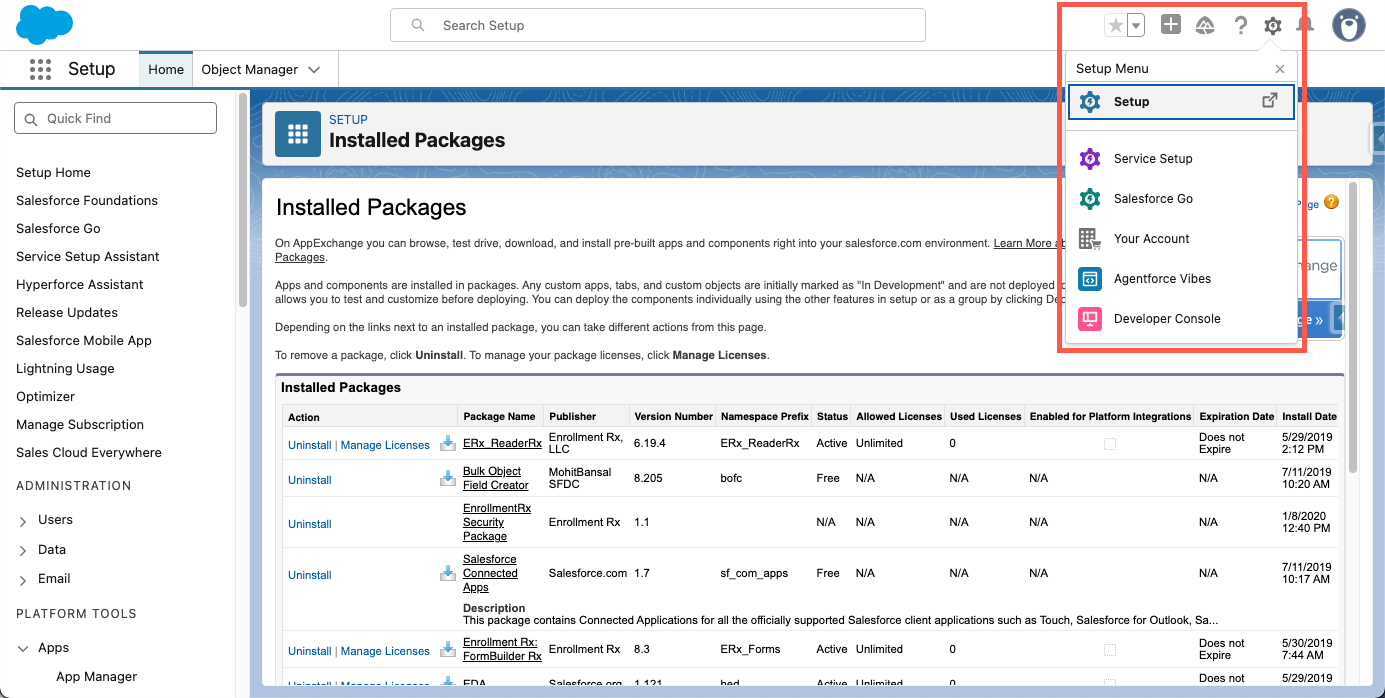
- Navigate to Setup (gear icon in the upper right corner).
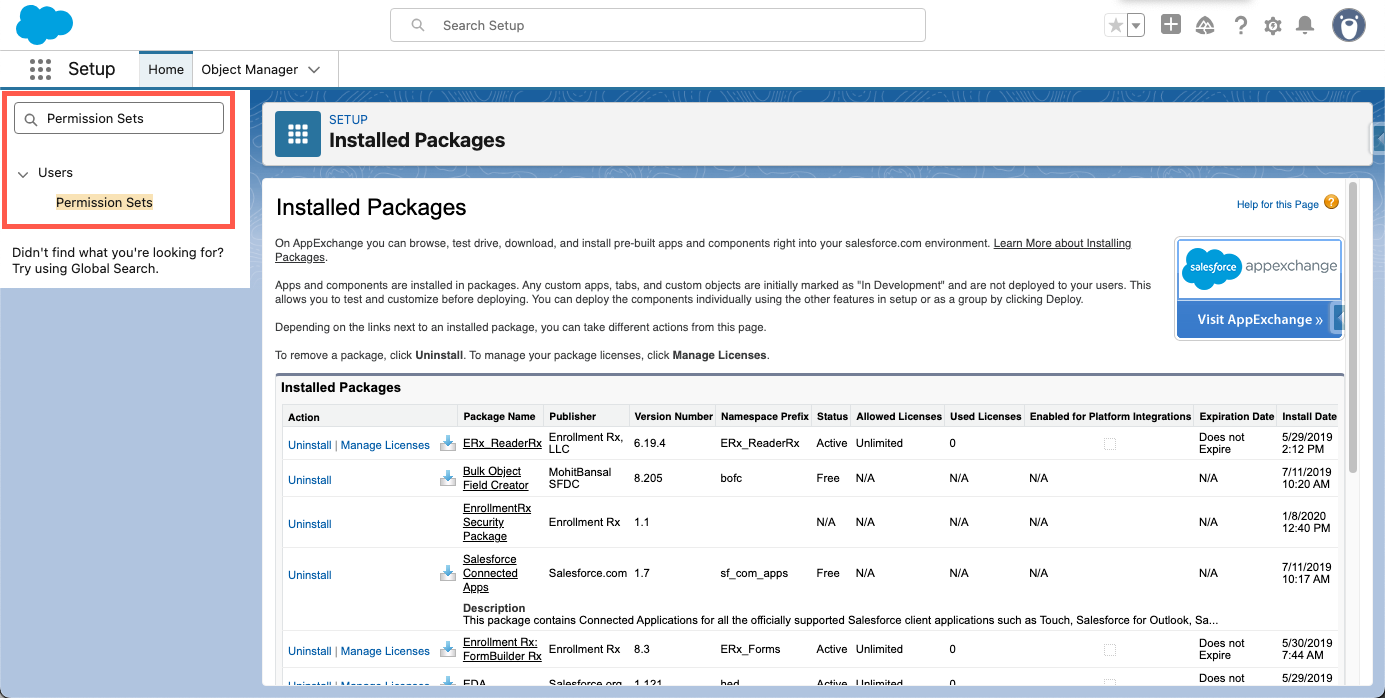
- Type "Permission Sets," in the Quick Find box and then click Permission
Sets under Users.
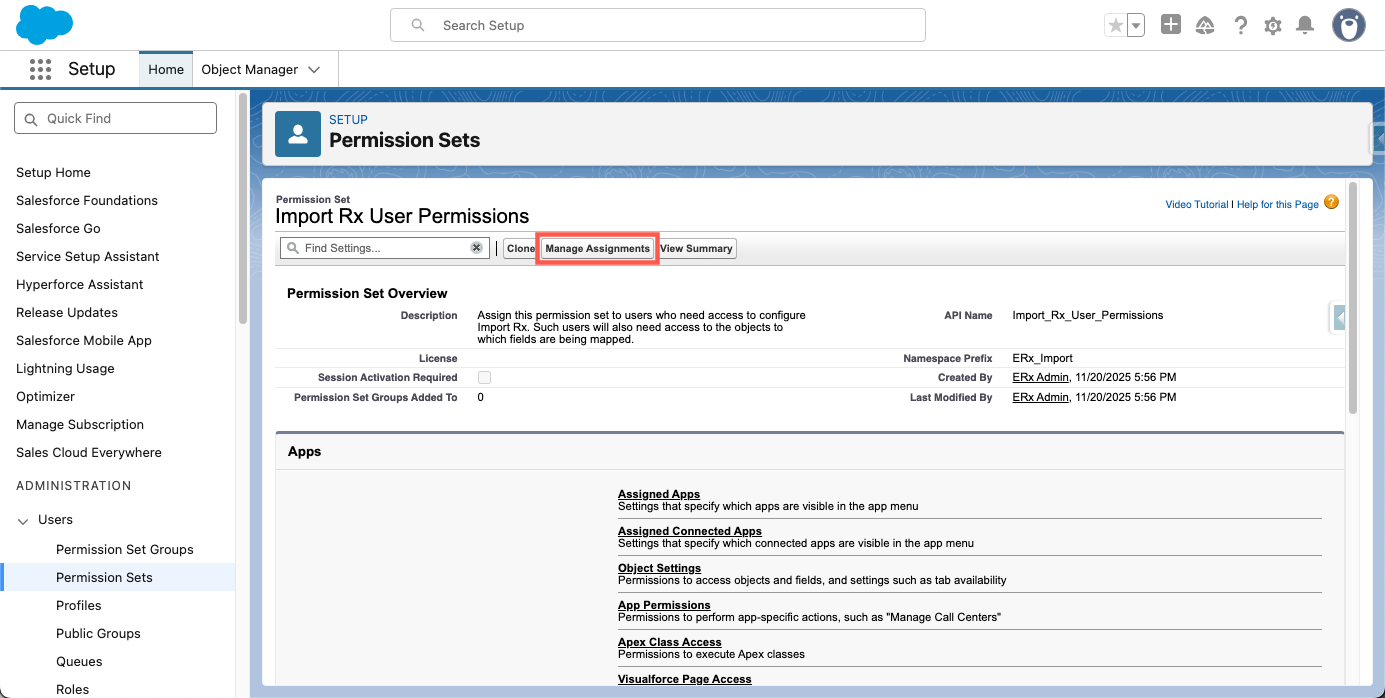
- Find and click on the new Permission Set named
Import Rx User
                        Permissions
.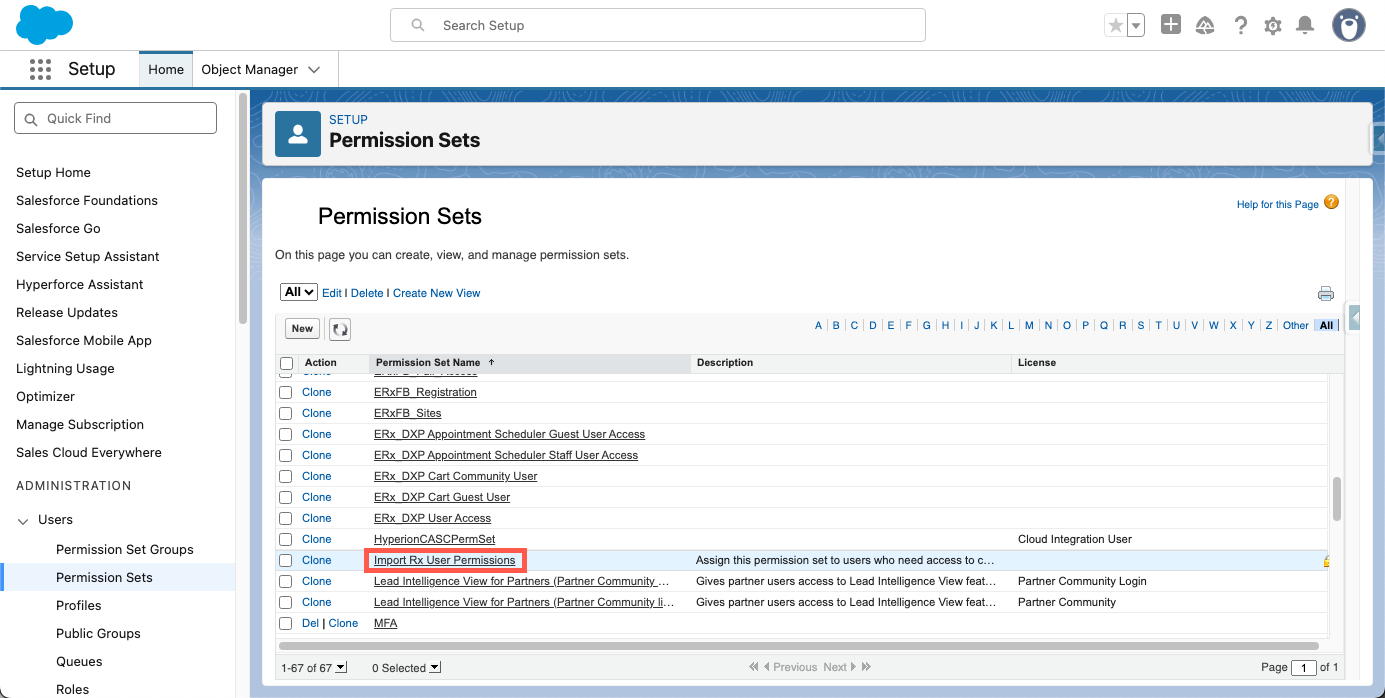
- On the detail page, click the Manage Assignments button, and then click
Add Assignments.

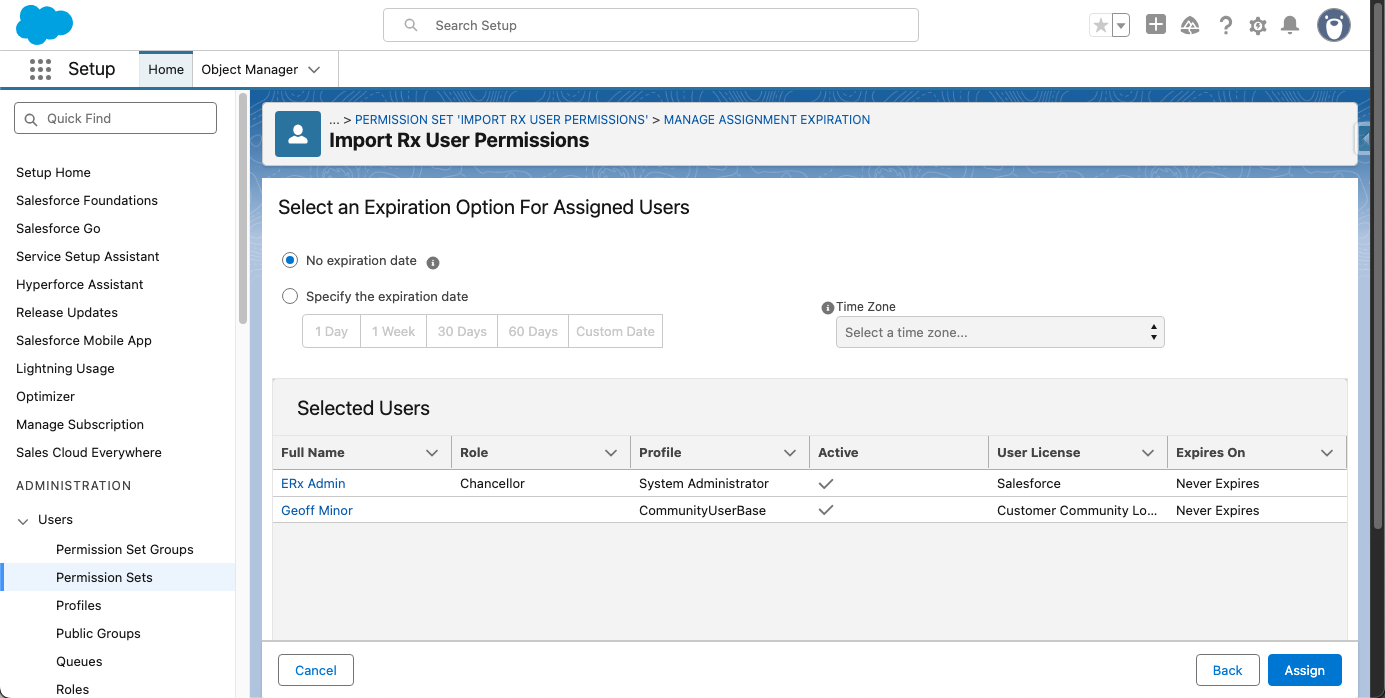
- On the "Select Users to Assign" page, choose your organization's Import Rx user(s) from the list and click Next to review your selections and optionally configure an expiration option for assigned users.
- Click Assign.
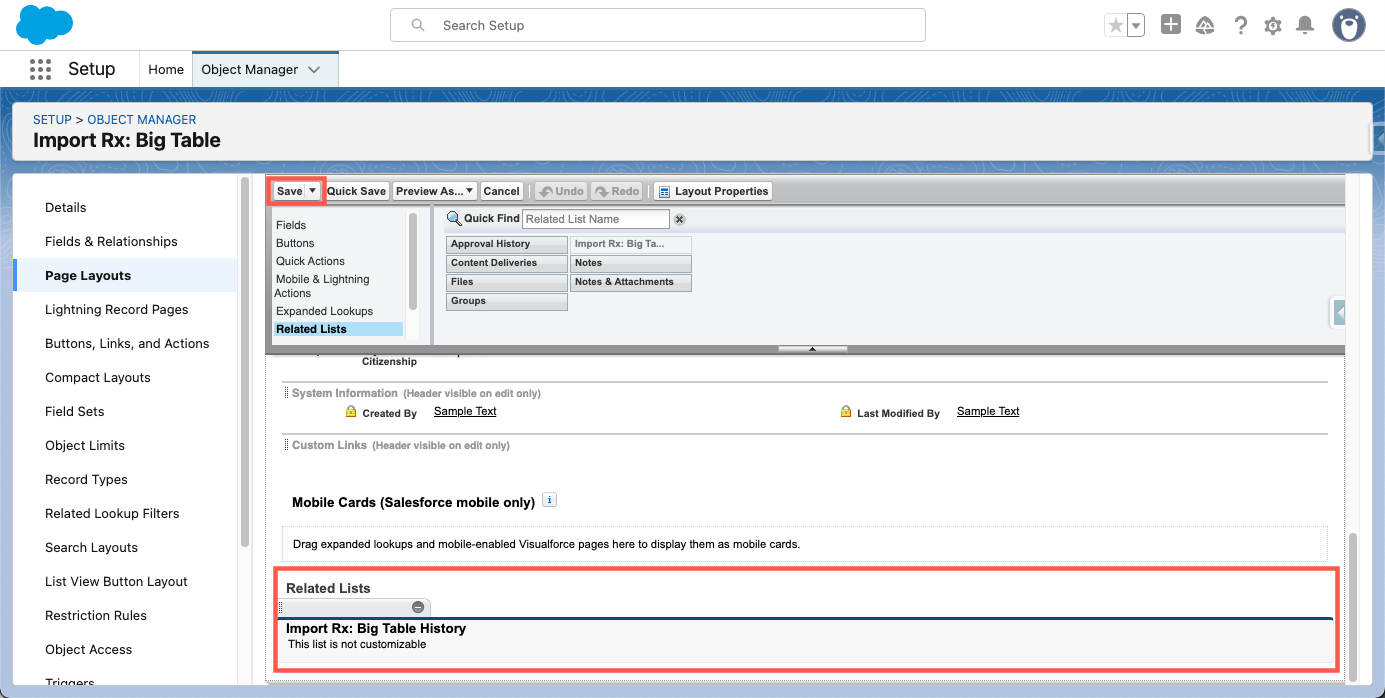
Manually Add a New Field to the Related List
- Navigate to Setup.
- Click Object Manager (or in the Quick Find box, type Objects and click
Objects).
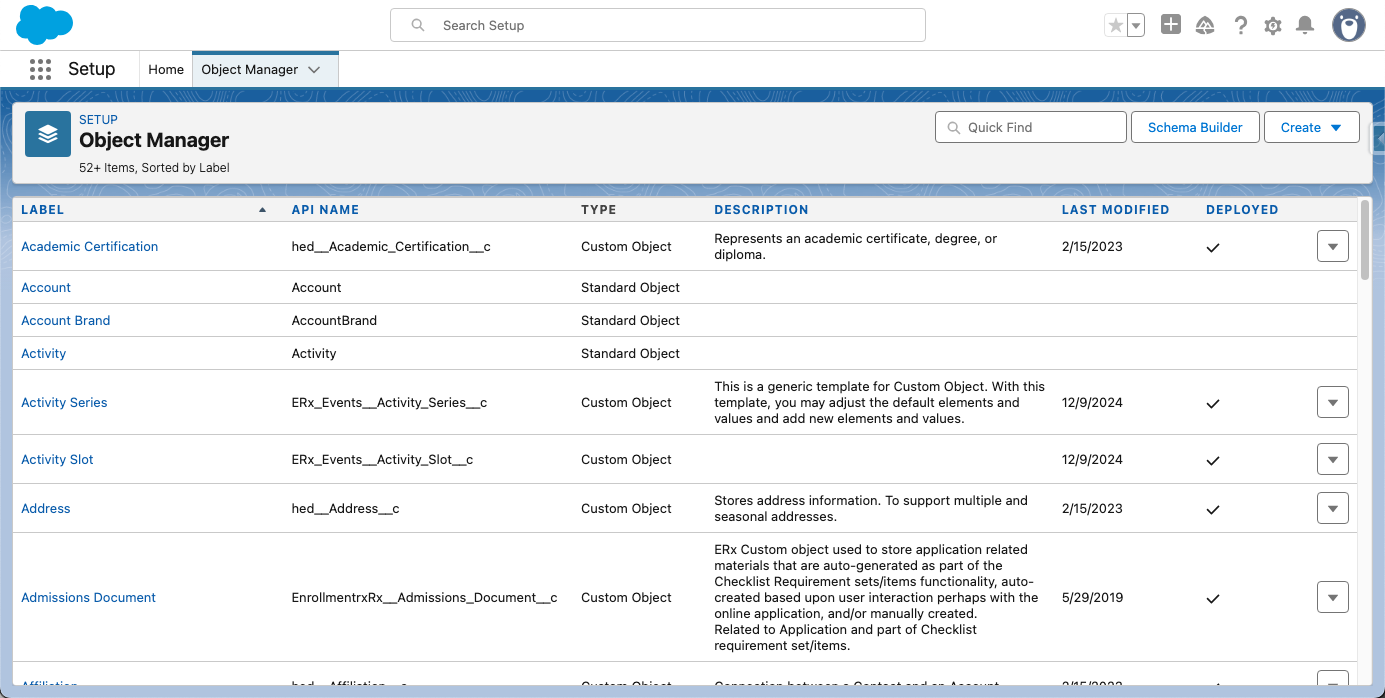
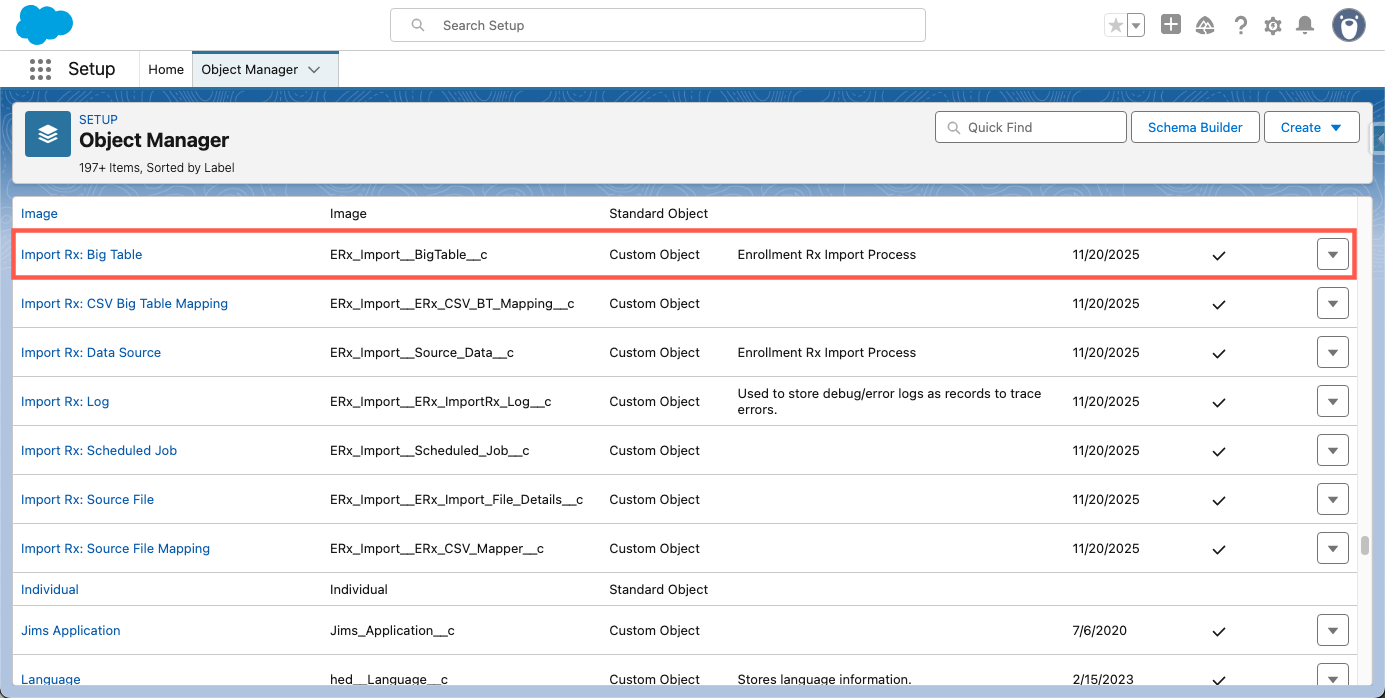
- Find and select the Big Table object (the exact name may vary slightly,
look for the object that hosts the Big Table records).
- On the administrative page for the Big Table Object, click Page Layouts
in the left-hand menu.
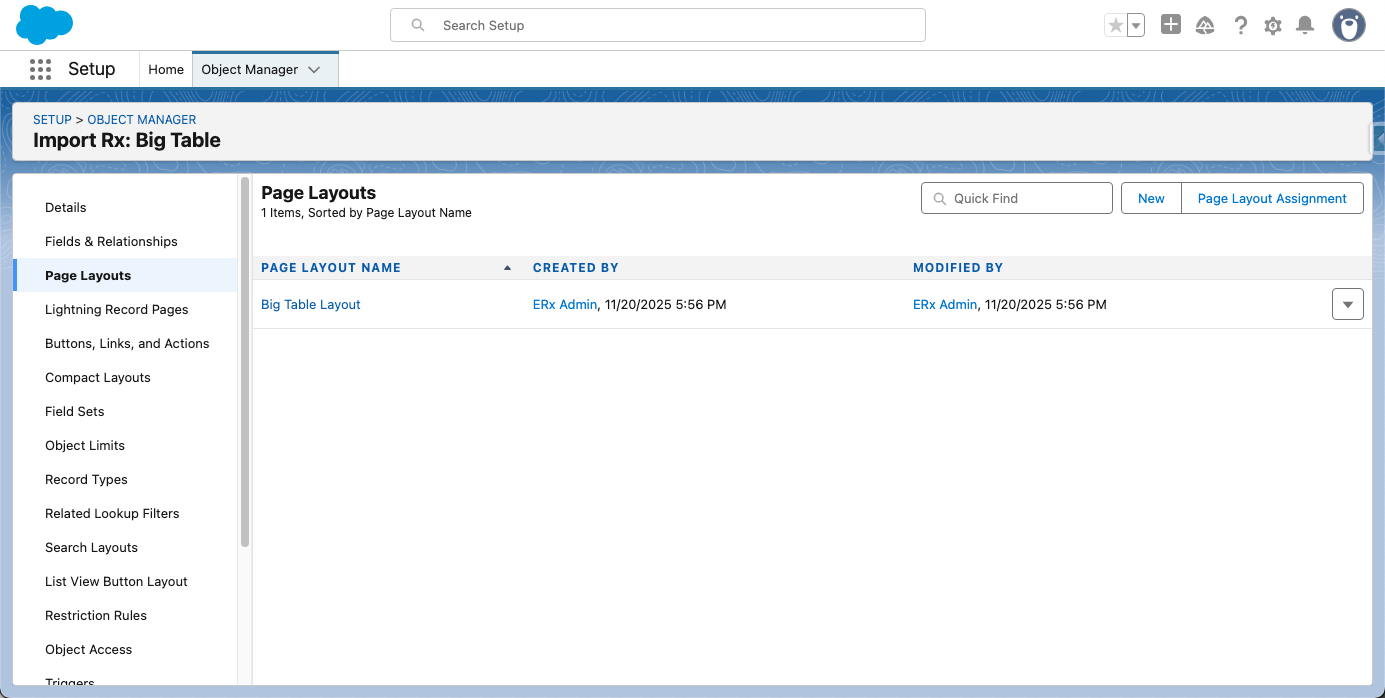
- Click the name of the relevant Page Layout that your users are viewing.
- In the page layout editor at the top of the screen, scroll down to the
Related Lists section and drag the ‘Import Rx: Big Tables’
field from the panel onto the Related Lists area.
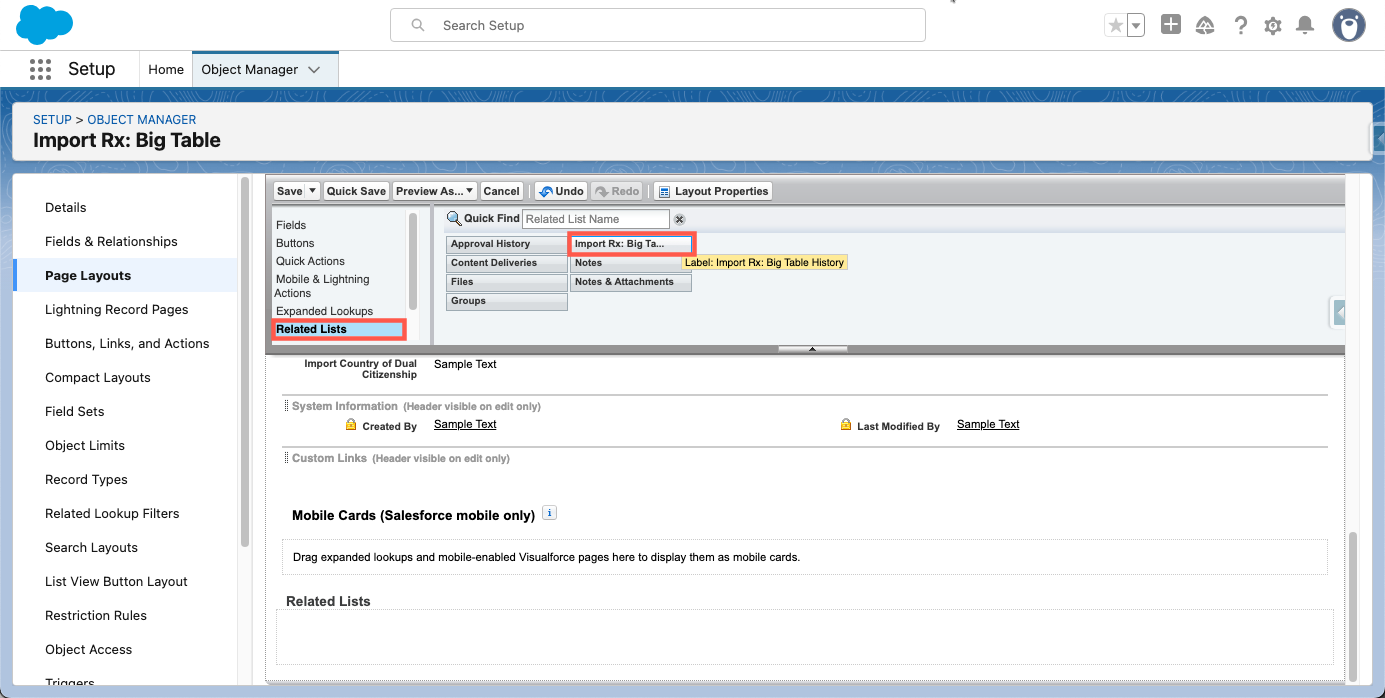
- Click Save at the top of the Page Layout Editor.